Vapor Polishing colorFabb XT!
A few nights ago, I printed a thin walled part with colorFabb _XT. It was very tall and unstable. Essentially a 4 inch disk standing on end. I used a brim, but that wasn't really enough. As the part built up higher and higher, it became less and less stable. As such, I ended up with a pretty low quality print and had a few layer delaminations. I tried brushing on a little MEK based plastic solvent weld (Plastruct Plastic Weld). To my surprise, it worked quite well and the material clarified nicely where it was brushed. 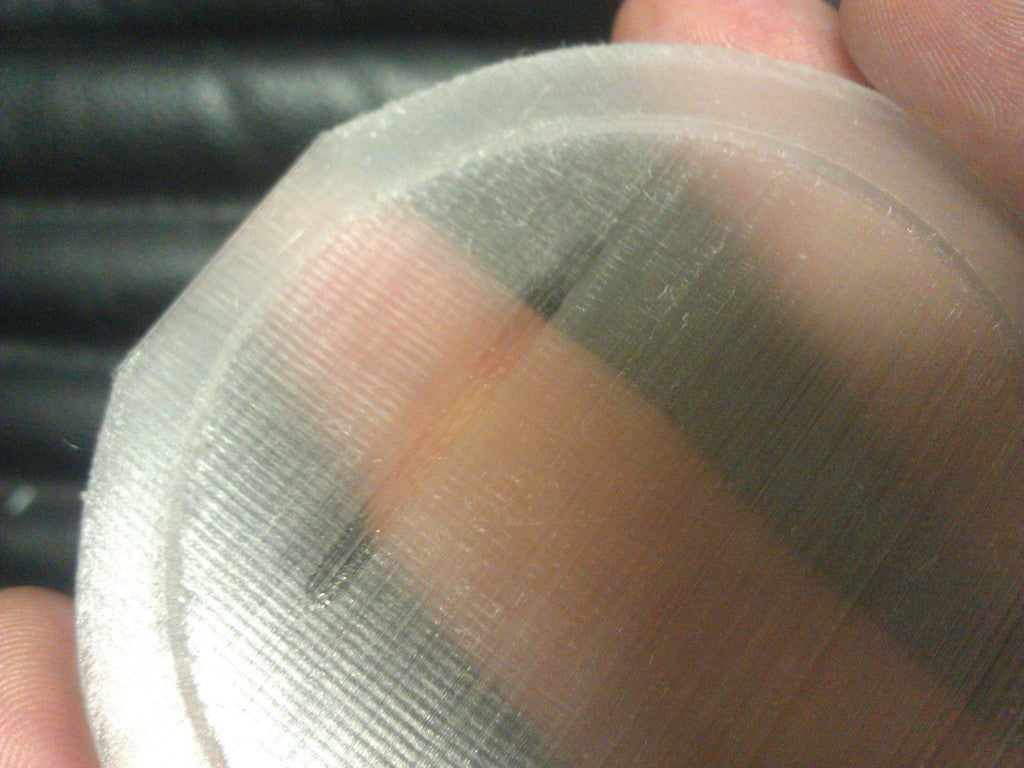 colorFabb XT disk with a clarification from a brushed line of MEK solvent.
That got me thinking. If the MEK solvent works, then can I vapor polish it in acetone?
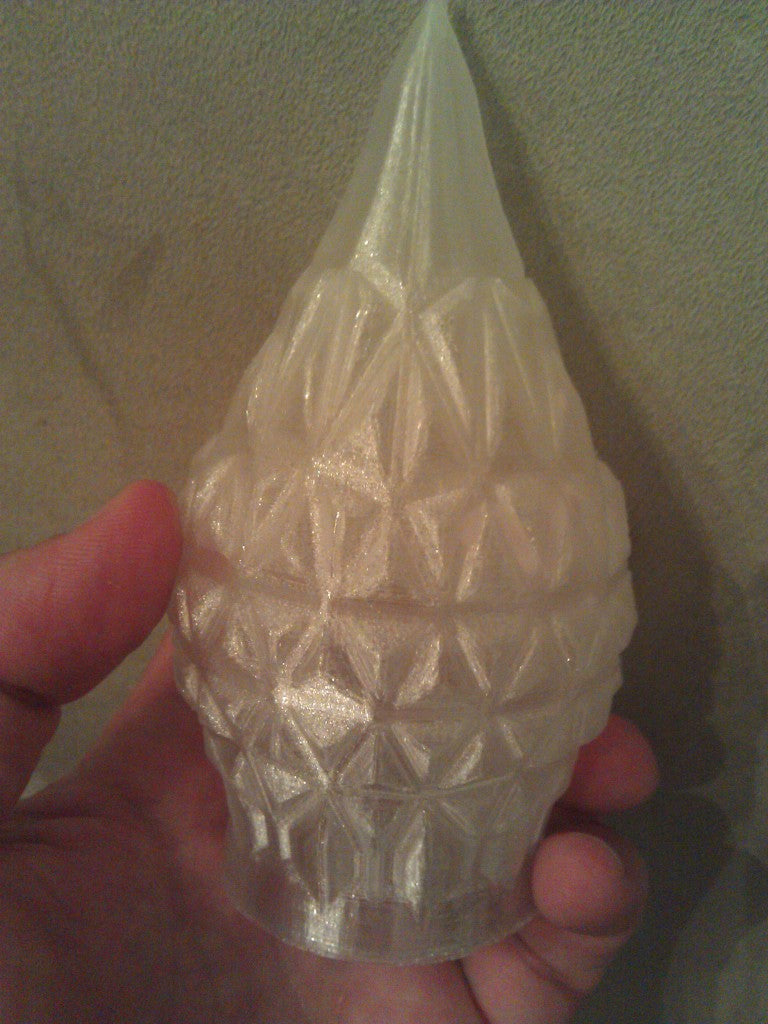
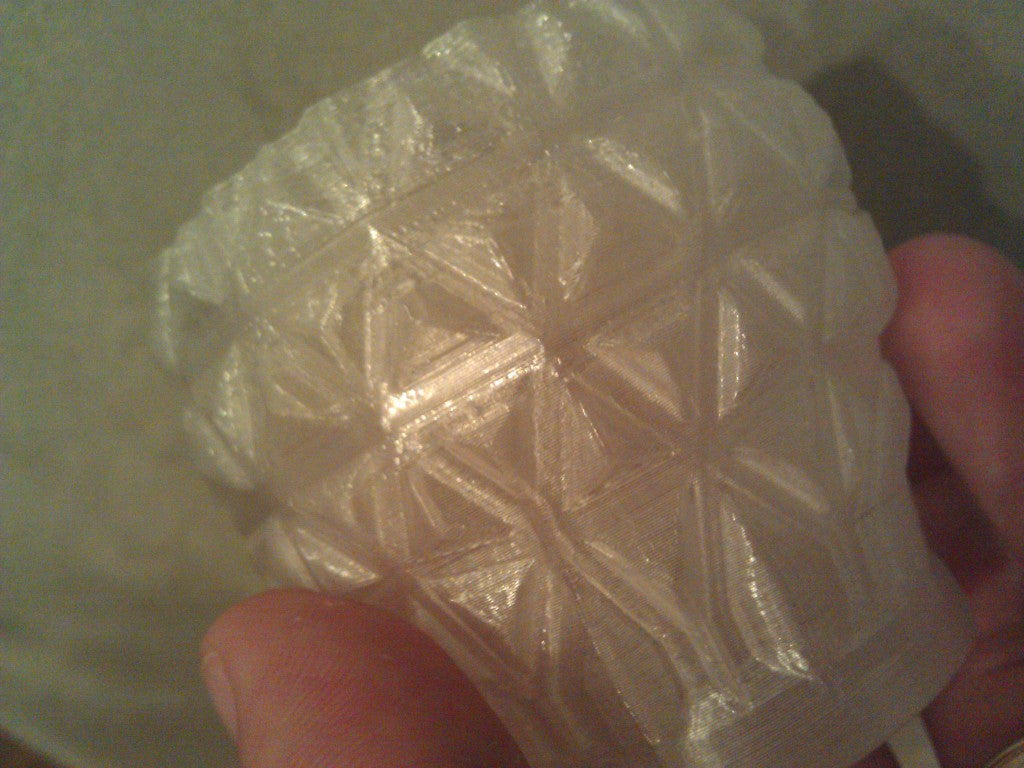
Turns out the answer is YES Before going further, I should mention that vapor polishing can be dangerous. It is highly flammable and there are both acute and long term exposure risks. Make sure you understand these risks and use appropriate safety equipment and ventilation if you vapor polish. I took a Stretchy Bracelet (emmett) / CC BY-SA 3.0 that I had made and tossed it into an acetone vapor bath for a very brief exposure. The material clarified nicely. It also became noticeably more flexible. Here is an overall picture of the bracelet and a closeup of it pressed to my finger. Notice that you can clearly see my finger print pattern through the bracelet without distortion.
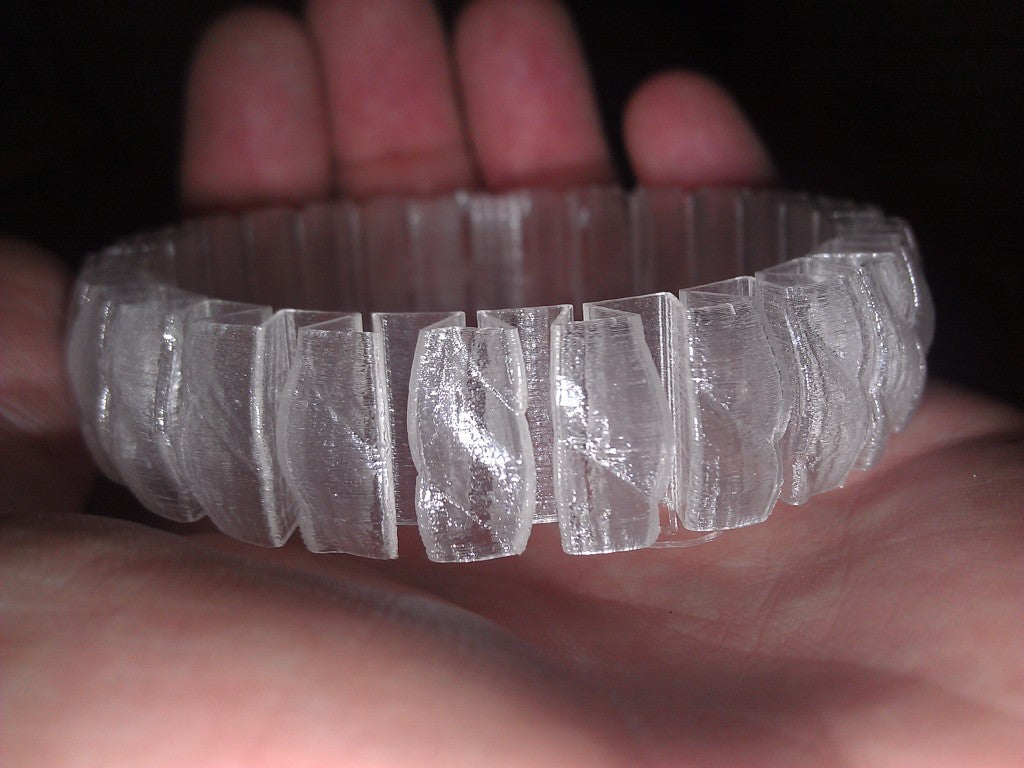 Emmett Stretchy bracelet printed in colorFabb XT on an Ultimaker at 100micron step height. Polished briefly in acetone vapor.
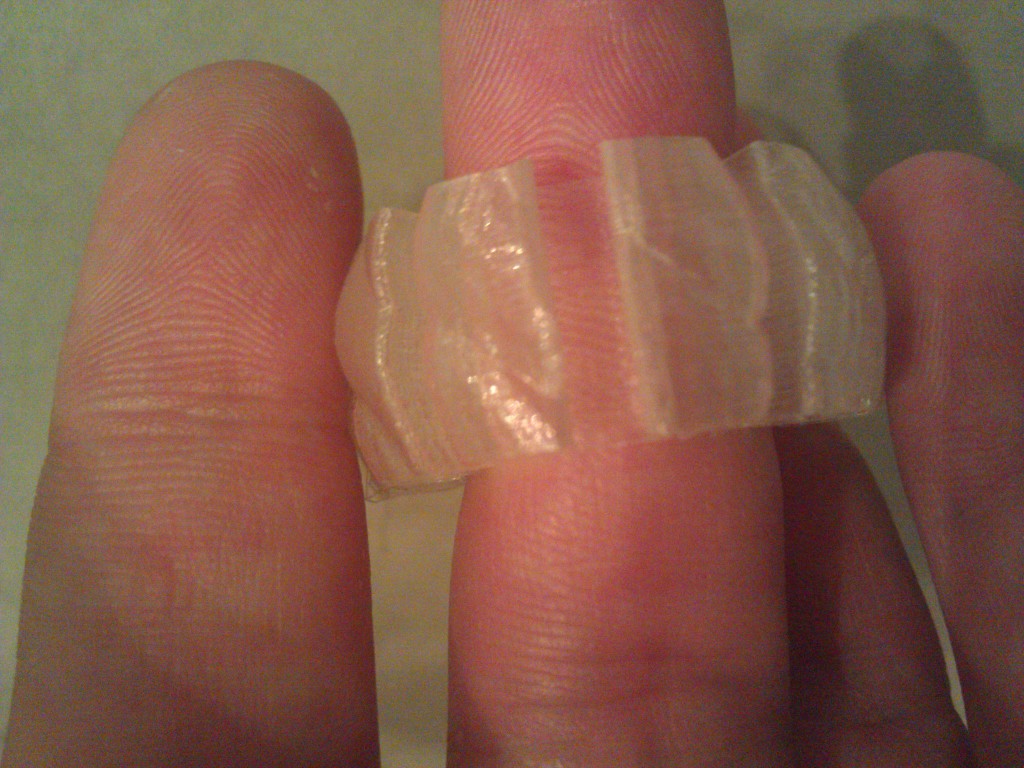 Closeup of Emmett Stretchy Bracelet link. Notice that finger print lines are clearly visible through the link.
WOW! So, acetone vapor polishing in a very brief exposure clarifies single shell wide colorFabb XT material. What happens to thicker parts with longer exposures?
 Impression of 200 micron printed part in play-doh.
Then I took a previous attempt at this print, same settings, and put it in the vapor polish for about a minute. {As an aside, this print failed due to a break at the bottom of the model just near the brim. With XT, I've found that if you don't get the nozzle fully purged of PLA prior to starting the print, you get really weak brittle material until the nozzle is purged.}
You're probably thinking, that looks LESS clear than the original. You're right. At longer exposure to vapor, the part becomes cloudy and internal layering lines become more exaggerated. However, look what happens to the impression!
 Impression of 200 micron vapor polished part in play-doh. Look ma, no lines!
The lines are GONE. GONE GONE GONE! This gets me really excited about using this material to print positives for investment casting and mold making! Of course, you can do this same thing with ABS, but the XT has the benefit of being tougher and printing with no warpage. Before I end this, I just wanted to highlight one additional effect. After vapor polishing, the material becomes extremely flexible and durable. I took a single layer XT printed part, vapor polished it for about a minute, and then shot the following video the next morning.
9/9/13 Update. Turns out you lose some of that flexibility after the part has had some time to sit. Five days after polishing, the bracelet is still extremely flexible, but there is no way that crystal do dad is going to be crunched into a ball again without breaking. Still, a pretty impressive trick to show off, no?
2014 and beyond update: Since this blog post was originally written, colorFabb has reformulated XT. Sadly, the newer version doesn't polish quite as cleanly with acetone, but we've had some success with MEK Substitute.

